I hope you're having a great Friday. The sun is shining here and we're heading into the weekend. I'm fortunate to have plans with my husband and children on Sunday to celebrate Mother's Day. A special wish to all mothers - may you be treated especially well, be surrounded by family and friends and take time for yourselves!
Today I created the graduation card for my DS who will graduate from high school in June. I've been following a number of different sketch challenges but this isn't part of any specific one. I'm sure there are elements that you could find on different sketches but this is my own creation. I did join in with Scrapbooker's Paradise challenge
Playing in Paradise #66 - Graduation/Encouragement to create a graduation card.
My son loves it when I add metal tape to his cards. So I started with the graduation cap.
I cut the cap from the Cricut Wrap It Up cartridge. Then I placed stickers for the 2012, drywall mesh and small pieces of aluminium duct tape on the rectangular board piece. Yes, I do raid my husband's handyman supplies. To give it an authentic used metal look, I use a small tool from Walnut Hollow to distress the aluminum tape. Then cover the finished piece with black acrylic paint, wipe it off and let it dry. Then I add some gold wax metallic finish in certain places.
Then I created the other elements of the card, keeping a masculine and somewhat old time style.
The gear as the background element for the grad cap was cut from Cricut Indie cart in gold Recollections paper and embossed with the Cuddlebug Clockworks folder. It was trimmed in brown cardstock to add dimension. The other papers are from DCWV High School Matstack.
Looking closely at the button, I realized that there was some writing on it so I researched it further. This is one from my MIL's stash and I believe it comes from the 1950s.
It was found on men's blazers and the inscription is Spectemur Agendo. This is a Latin motto meaning "Let us be judged by our acts". The source is said to be the from Book XIII of Ovid's Metamorphoses. It appears that these buttons are still available by the Waterbury Button Company. I find this trivia interesting but more importantly that it's meaning is most suitable for my dear son as he begins the next phase of his life and pursues his studies at college in the Fall.
In case you're curious about the other metal tape cards that I made for him. I'll show you the one at Christmas and the other for his 18th birthday.
Thanks for stopping by!

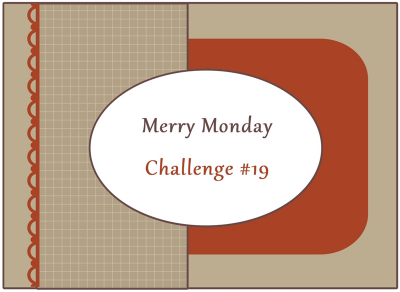
Challenge